Your first turtle embroidery#
We will now make our first turtle embroidery. We start by importing TurtleThread (make sure that it is installed).
1from turtlethread import Turtle
Next, we create a turtle object, which we’ll use to draw with
1from turtlethread import Turtle
2
3needle = Turtle()
Now we have everything we need to start making patterns. Let’s start with a line.
To draw a line, we use forward and how far we want the turtle to move (for example 300 steps).
1from turtlethread import Turtle
2
3needle = Turtle()
4needle.forward(300)
This code moves the turtle 100 steps, but it doesn’t make any stitches. To make the turtle start stitching while it is moving, we need to use a stitch-block.
Using a stitch type to create a seam#
The simplest form of stitch-block is one named running_stitch (See Overview of stitch types in TurtleThread). In a running stitch block,
we embroider in a straight line with a set distance between each stitch.
1from turtlethread import Turtle
2
3needle = Turtle()
4with needle.running_stitch(30):
5    needle.forward(300)
Now, we have made code that moves the turtle 300 steps forward, with one stitch after every 30-th step.
This is equivalent to stitching every third millimeter. Let’s see how this looks, and to do so, we can use
the visualise-function, which uses the builtin turtle-library to draw our embroidery.
1from turtlethread import Turtle
2
3needle = Turtle()
4with needle.running_stitch(30):
5    needle.forward(300)
6needle.visualise()

Now, we have a straight line, and to change direction, we can use the right-command, and tell the turtle
how many degrees it should turn to the right (for example 90 degrees).
1from turtlethread import Turtle
2
3needle = Turtle()
4with needle.running_stitch(30):
5    needle.forward(300)
6    needle.right(90)
7    needle.forward(300)
8
9needle.visualise()

With a for-loop, we can repeat this four times to get a square:
1from turtlethread import Turtle
2
3needle = Turtle()
4with needle.running_stitch(30):
5    for side in range(4):
6        needle.forward(300)
7        needle.right(90)
8
9needle.visualise()

And if we use another loop again to draw the square eight times, we’ll get a pretty flower:
 1from turtlethread import Turtle
 2
 3needle = Turtle()
 4with needle.running_stitch(30):
 5    for petal in range(8):
 6        for side in range(4):
 7            needle.forward(300)
 8            needle.right(90)
 9        needle.right(45)
10
11needle.visualise()

It can often be smart to define some key variables to use in our program. One such variable can be
the number of petals our flower has. Let’s make that petal variable and name it num_petals.
 1from turtlethread import Turtle
 2
 3needle = Turtle()
 4
 5num_petals = 8
 6with needle.running_stitch(30):
 7    for petal in range(num_petals):
 8        for side in range(4):
 9            needle.forward(300)
10            needle.right(90)
11        needle.right(360 / num_petals)
12
13needle.visualise()

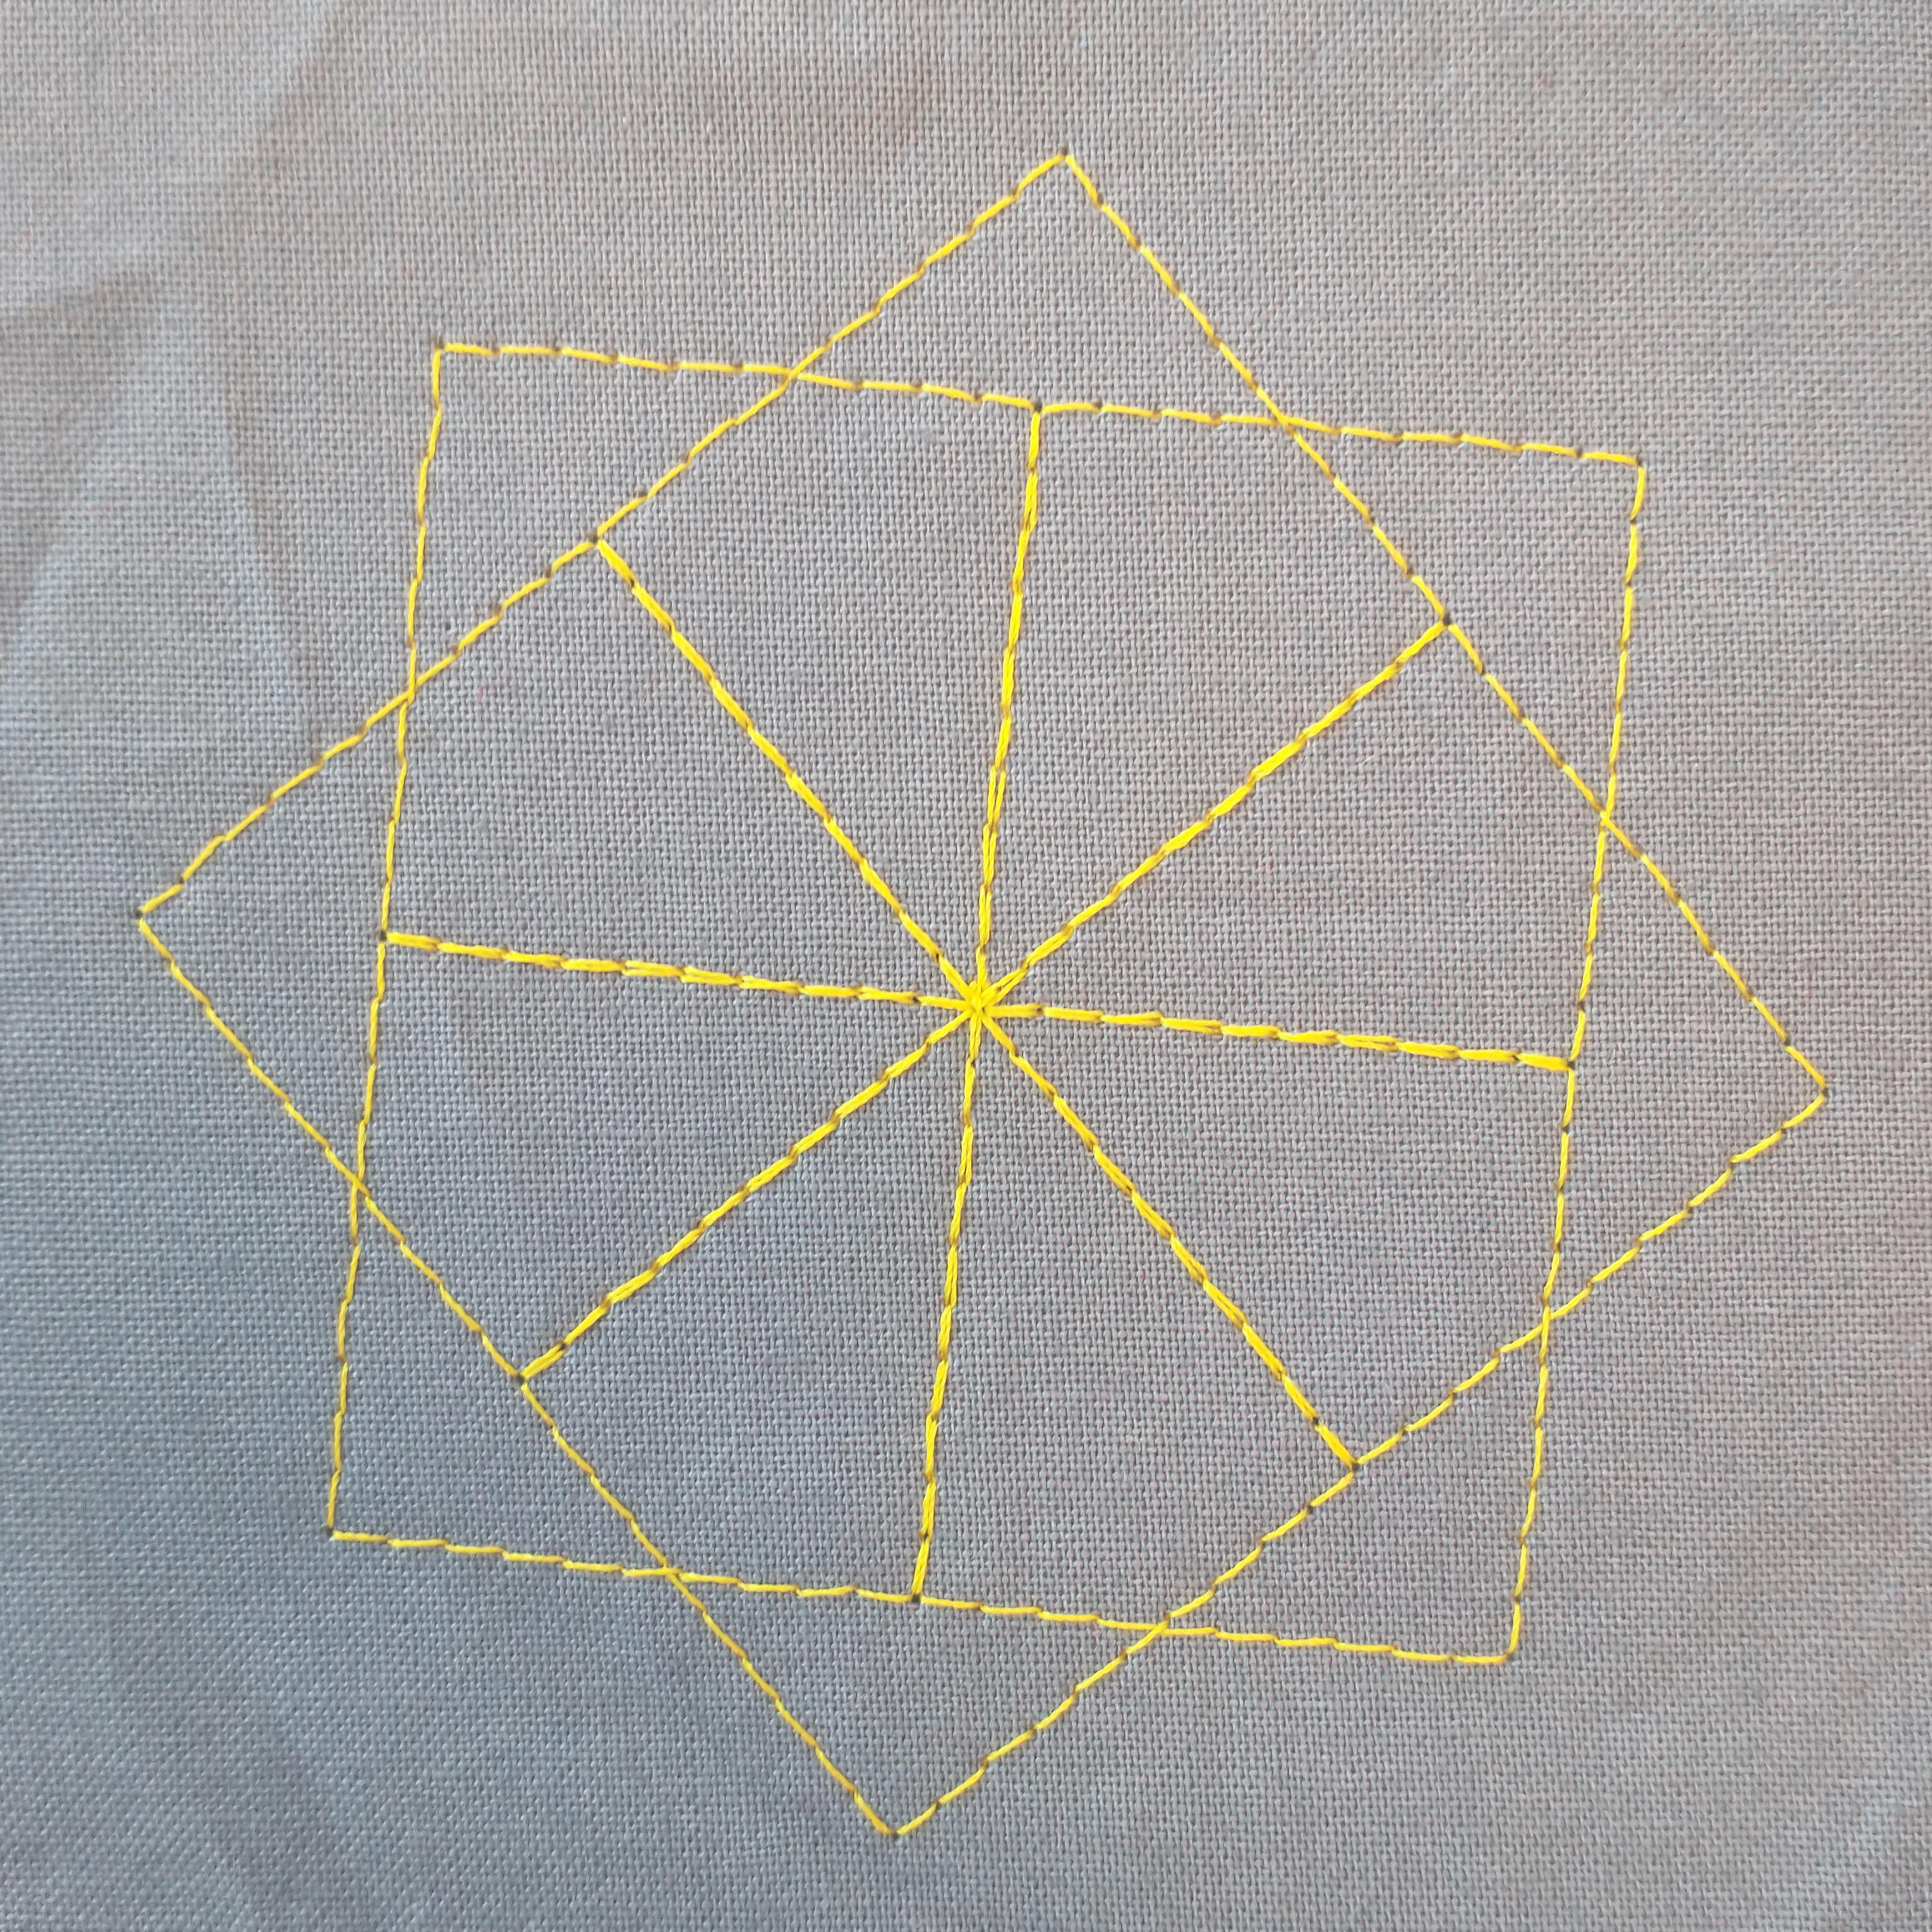
Try it yourself:
Try to modify the code and change the number of petals to get a figure like the one below:

Click here to see an example of how the finished code can look:
 1from turtlethread import Turtle
 2
 3needle = Turtle()
 4
 5num_petals = 10
 6with needle.running_stitch(30):
 7    for petal in range(num_petals):
 8        for side in range(4):
 9            needle.forward(300)
10            needle.right(90)
11        needle.right(360 / num_petals)
12
13needle.visualise()
Saving the pattern#
Now, we have a nice pattern that we can save as a PNG or SVG file
 1from turtlethread import Turtle
 2
 3needle = Turtle()
 4
 5num_petals = 8
 6with needle.running_stitch(30):
 7    for petal in range(num_petals):
 8        for side in range(4):
 9            needle.forward(300)
10            needle.right(90)
11        needle.right(360 / num_petals)
12
13needle.visualise()
14needle.save("flower.png")
15needle.save("flower.svg")
Below is the flower.svg file that we just created:

Or, we can save it as a DST-file to use it with an embroidery machine.
 1from turtlethread import Turtle
 2
 3needle = Turtle()
 4
 5num_petals = 8
 6with needle.running_stitch(30):
 7    for petal in range(num_petals):
 8        for side in range(4):
 9            needle.forward(300)
10            needle.right(90)
11        needle.right(360 / num_petals)
12
13needle.visualise()
14needle.save("flower.png")
15needle.save("flower.svg")
16needle.save("flower.dst")