For loops#
Repetition is often seen in both nature, art and architecture. And the computer is particularly suited for repetitive tasks. The computer can repeat the same actions over and over for thousands or even hundreds of thousands of times without getting tired.
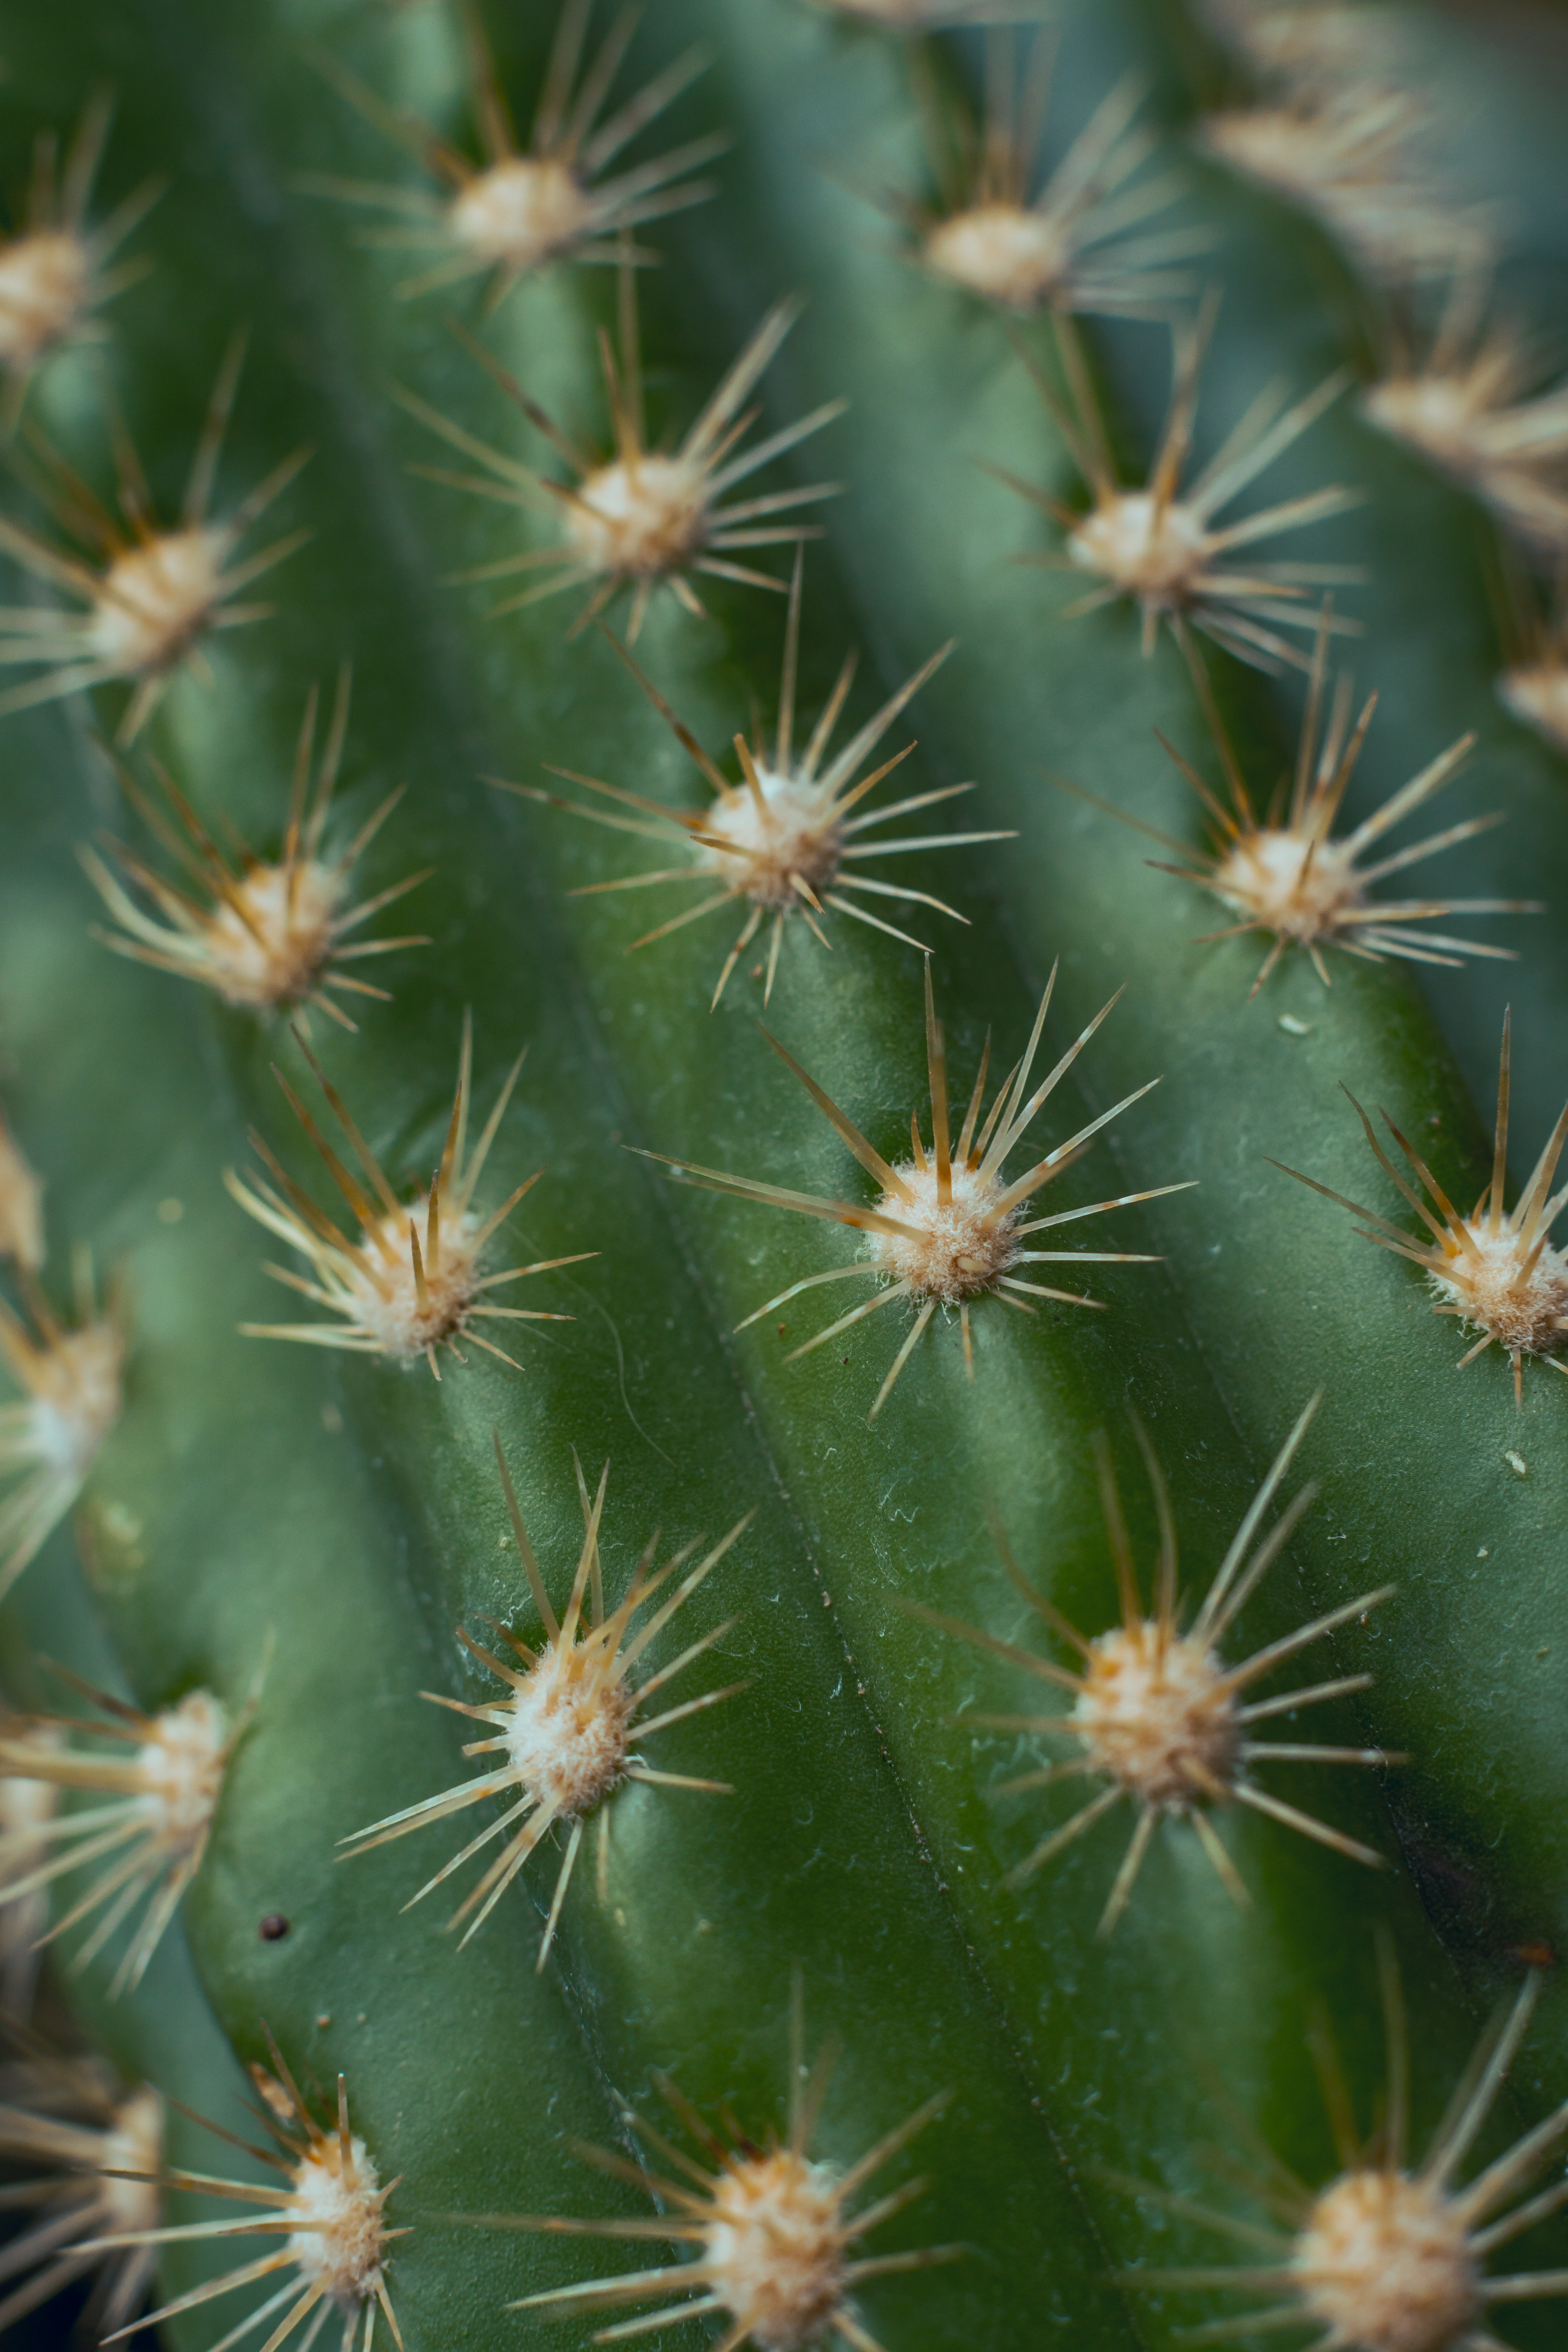
Nature#
Close-up of the needles on a cactus (photo by Visually Us).
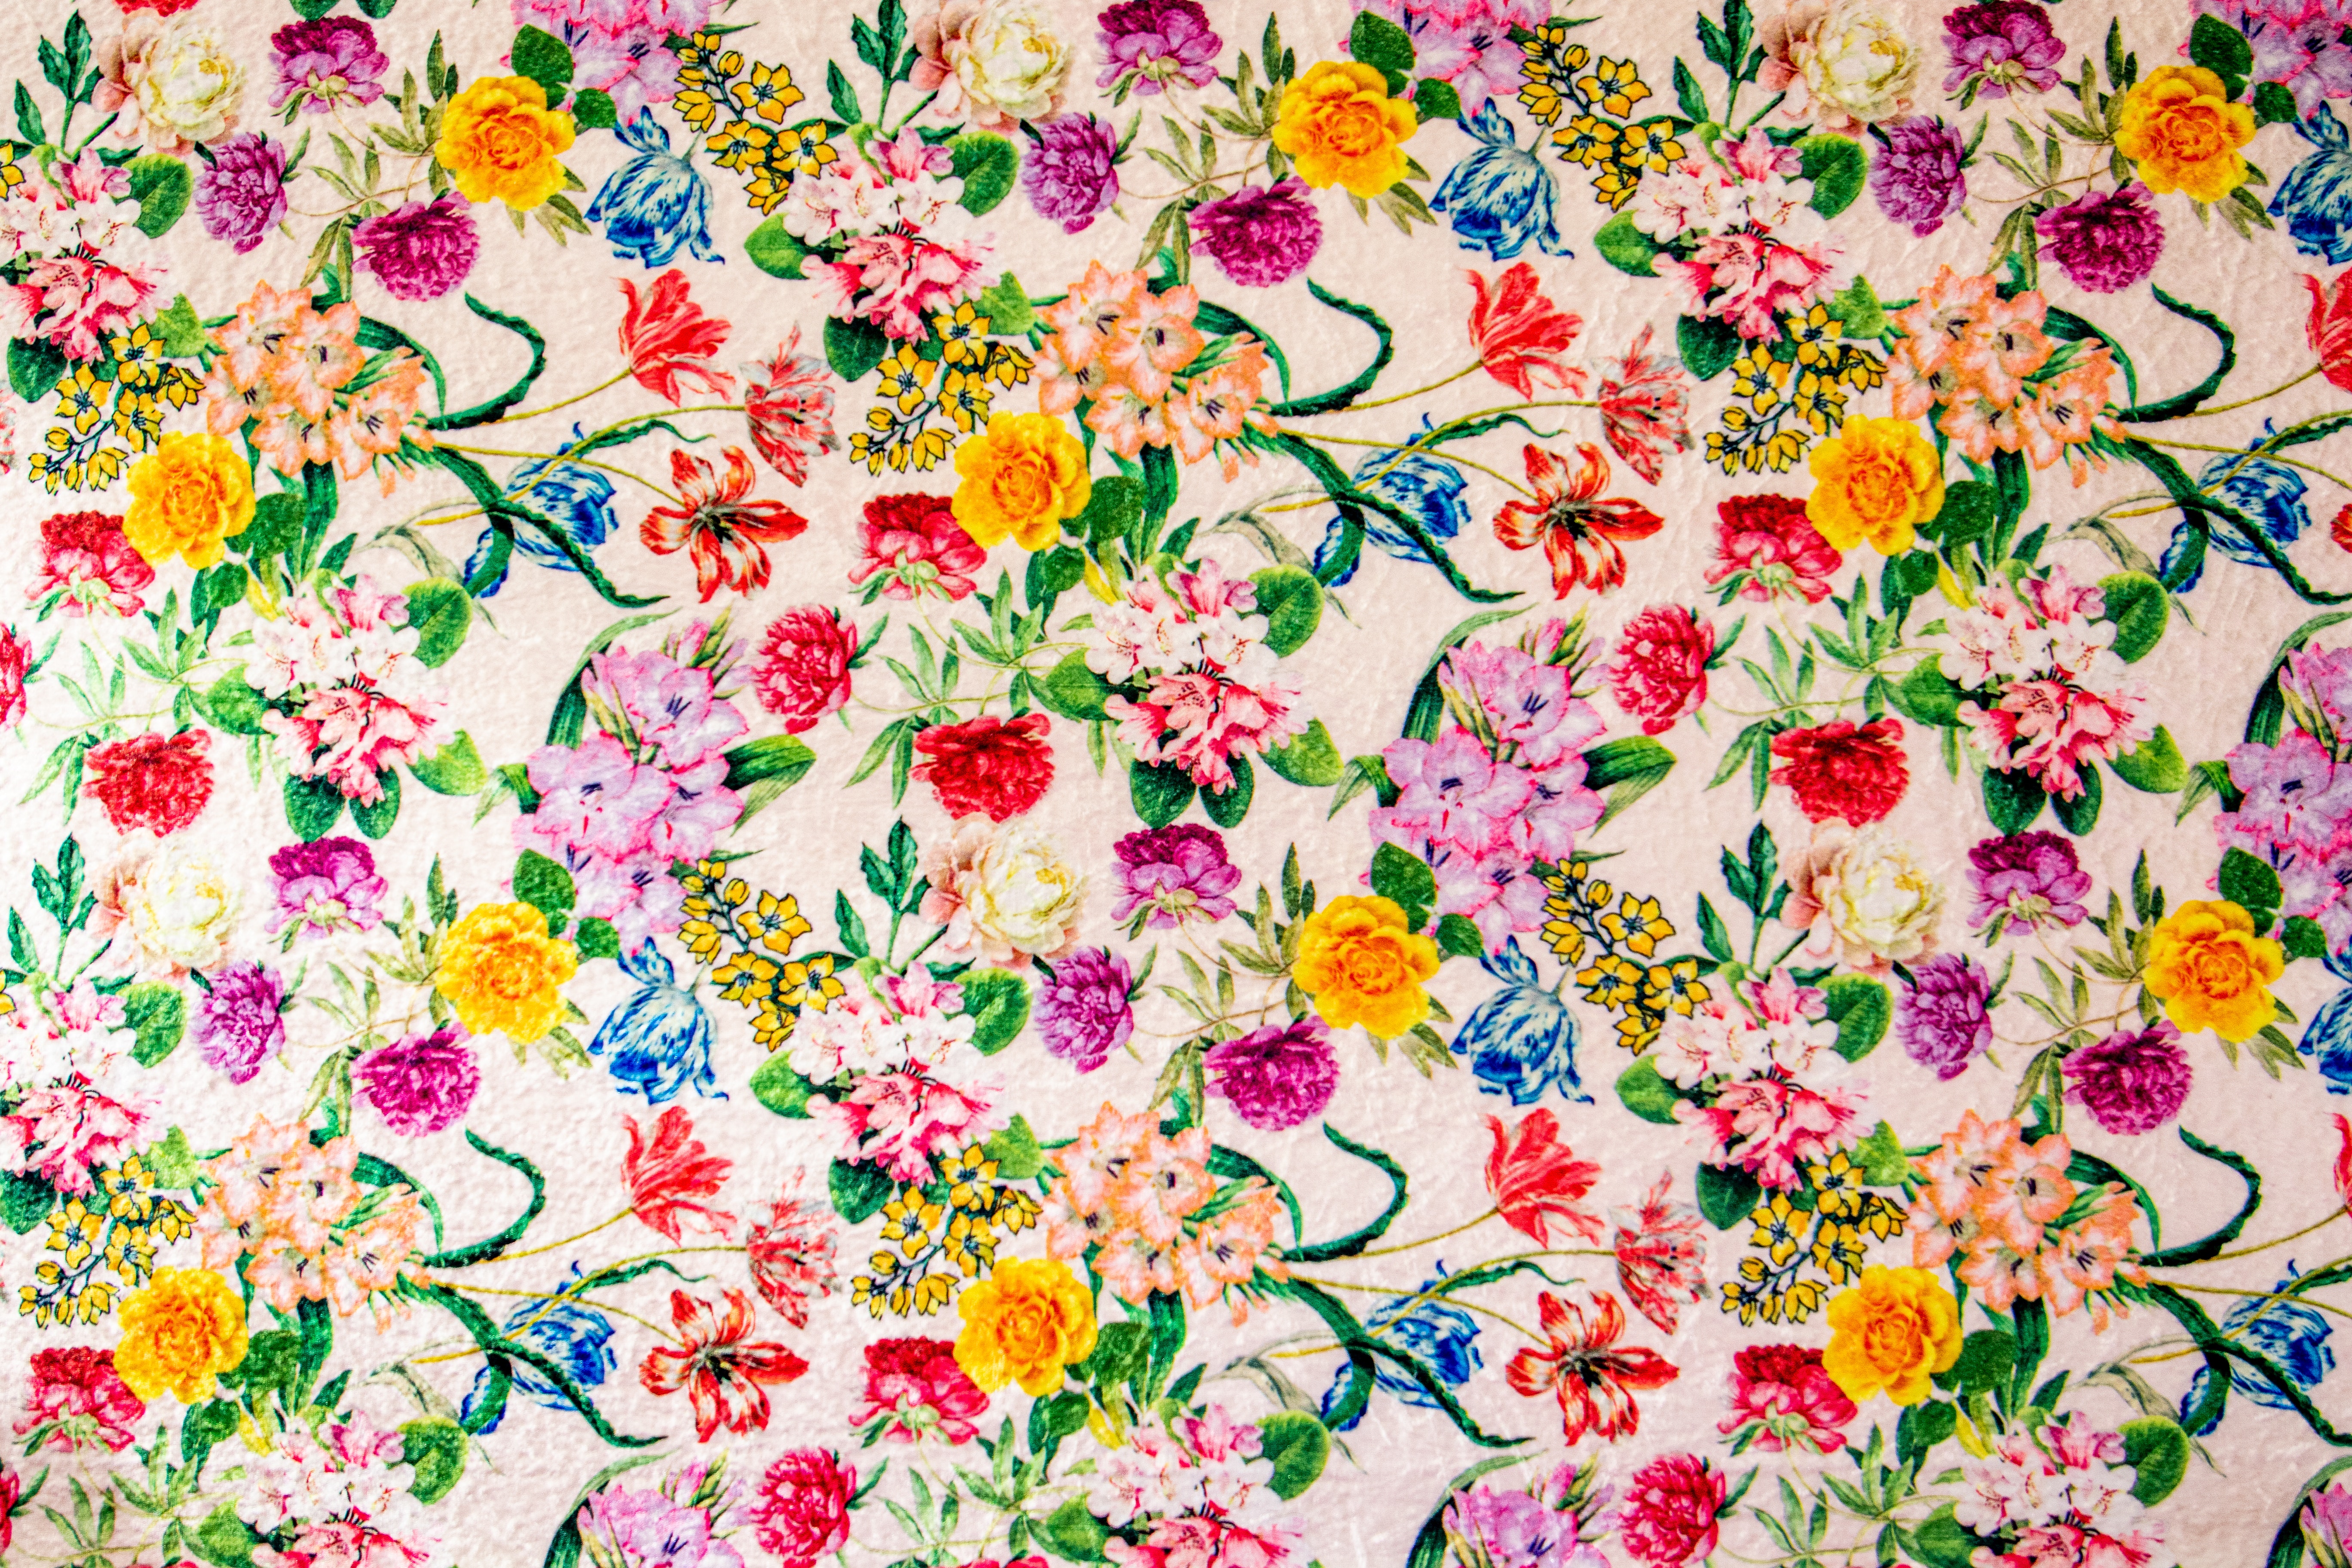
Art#
Art print on fabric (photo by Magda Ehlers).

Architecture#
Black and white photo of a building (photo by David Underland).
When we program, we can use loops to repeat a piece of code several times without writing the same code multiple times. Python supports two types of loops, for loops and while loops. In this tutorial, we will use for loop. Let’s start with an example:
 1from turtlethread import Turtle
 2
 3needle = Turtle()
 4with needle.running_stitch(25):
 5    needle.forward(100)
 6    needle.backward(100)
 7    needle.right(60)
 8
 9    needle.forward(100)
10    needle.backward(100)
11    needle.right(60)
12
13    needle.forward(100)
14    needle.backward(100)
15    needle.right(60)
16
17    needle.forward(100)
18    needle.backward(100)
19    needle.right(60)
20
21    needle.forward(100)
22    needle.backward(100)
23    needle.right(60)
24
25    needle.forward(100)
26    needle.backward(100)
27    needle.right(60)
28
29needle.visualise()

We can shorten this code with a for loop:
 1from turtlethread import Turtle
 2
 3needle = Turtle()
 4with needle.running_stitch(25):
 5    for ray in range(6):
 6        needle.forward(100)
 7        needle.backward(100)
 8        needle.right(60)
 9
10needle.visualise()

We see that the modified code is much shorter and more readable. The most important lines to understand here are lines 5-9.
- Line 5:
Tells Python that the code block below should be repeated 6 times, one for each ray in the star.
- Lines 6-9:
These lines are indented one more level than the other lines and represent a code block. The code block is directly below the definition of the for loop. Therefore this code block belongs to the for loop, so these lines will be repeated for each loop iteration (6 times).
Try it yourself:
Modify the code above so the star has eight rays instead of 6 (HINT: then there must be 45 degrees between each ray)
Klikk her for å se programmet slik det skal være om du har gjort det rett:
 1from turtlethread import Turtle
 2
 3needle = Turtle()
 4with needle.running_stitch(25):
 5    for ray in range(8):
 6        needle.forward(100)
 7        needle.backward(100)
 8        needle.right(45)
 9
10needle.visualise()

Attention
Make sure your code matches the finished code above before you proceed.
More on range#
So far, we haven’t explained much about the range function.
If we read the code above, we see the line for ray in range(8), which means for each ray in “range(8)”.
Typing range(8) is almost like asking Python to generate a list of numbers [0, 1, 2, 3, 4, 5, 6, 7].
We can see this in practice by printing the ray variable to the terminal for each loop iteration.
 1from turtlethread import Turtle
 2
 3needle = Turtle()
 4with needle.running_stitch(25):
 5    for ray in range(8):
 6        needle.forward(100)
 7        needle.backward(100)
 8        needle.right(45)
 9        print(ray)
10
11needle.visualise()
0
1
2
3
4
5
6
7

So we can see that the range function creates a sequence of integers up to, but not including, the stopping number (which in this case was 6). And the ray variable takes on each number in the sequence, one for each “round” in the loop.
Because ray is a variable, we can also use it in our drawing. If we, for example, want the rays to have different lengths, we can set the length using the ray variable.
 1from turtlethread import Turtle
 2
 3needle = Turtle()
 4with needle.running_stitch(25):
 5    for ray in range(8):
 6        needle.forward(ray)
 7        needle.backward(ray)
 8        needle.right(45)
 9        print(ray)
10
11needle.visualise()
0
1
2
3
4
5
6
7
This is not what we wanted! We ended up with a tiny pattern where all the stitches are practically on top of each other. The reason for this is the ray variable, which only gets values between 0 and 5. We want our rays to be longer than this! To get longer rays, we can use the range function. Range can also decide where the number sequence starts and how big the difference between each number in the sequence should be. So, if we want the shortest ray to have a length of 50, the longest ray to have a length of 225 and each ray to be 25 longer than the previous, we can write:
 1from turtlethread import Turtle
 2
 3needle = Turtle()
 4with needle.running_stitch(25):
 5    for ray in range(50, 250, 25):
 6        needle.forward(ray)
 7        needle.backward(ray)
 8        needle.right(45)
 9        print(ray)
10
11needle.visualise()
50
75
100
125
150
175
200
225

Again the interesting line is line 5.
We see that it says range(50, 200, 25).
This means that the sequence of numbers starts at 50 and ends before 250, and there is a “jump” of 25 steps between each number.
Try it yourself:
Modify the code above so that the smallest ray has a length of 100 steps, the longest has a length of 400 steps, and each ray is 50 steps longer than the last.
Click here to see an example of how the finished code should look.
 1from turtlethread import Turtle
 2
 3needle = Turtle()
 4with needle.running_stitch(25):
 5    for ray in range(100, 500, 50):
 6        needle.forward(ray)
 7        needle.backward(ray)
 8        needle.right(45)
 9        print(ray)
10
11needle.visualise()
100
150
200
250
300
350
400
450

We can use this technique to make even fancier stars. For example, if we rotate 150 degrees for each loop iteration, we get this figure:
 1from turtlethread import Turtle
 2
 3needle = Turtle()
 4with needle.running_stitch(25):
 5    for ray in range(100, 500, 50):
 6        needle.forward(ray)
 7        needle.backward(ray)
 8        needle.right(150)
 9        print(ray)
10
11needle.visualise()
100
150
200
250
300
350
400
450

Attention
If you make a star with a lot of rays, the stitches towards the middle can get too close, which will cause the embroidery machine to struggle and possibly get stuck.